PiTemp
I had been looking for an excuse to mess around with Raspberry Pi for a while, and found one: I wanted a graph of temperature and humidity over time, and - while we’re at it - a nice display of those two. Technically speaking, I already have a Nest thermostat which should provide those, but it won’t display humidity and there’s no easy way to get a graph off it (besides, then I’d need another excuse for messing around with a Pi).
The code for the final result is in https://github.com/lutzky/pitemp.
Stage 1: LCD and DHT
Hardware:
- A Raspberry Pi Zero W a friend gave me (that’ll become important later on)
- A DHT11 temperature & humidity sensor
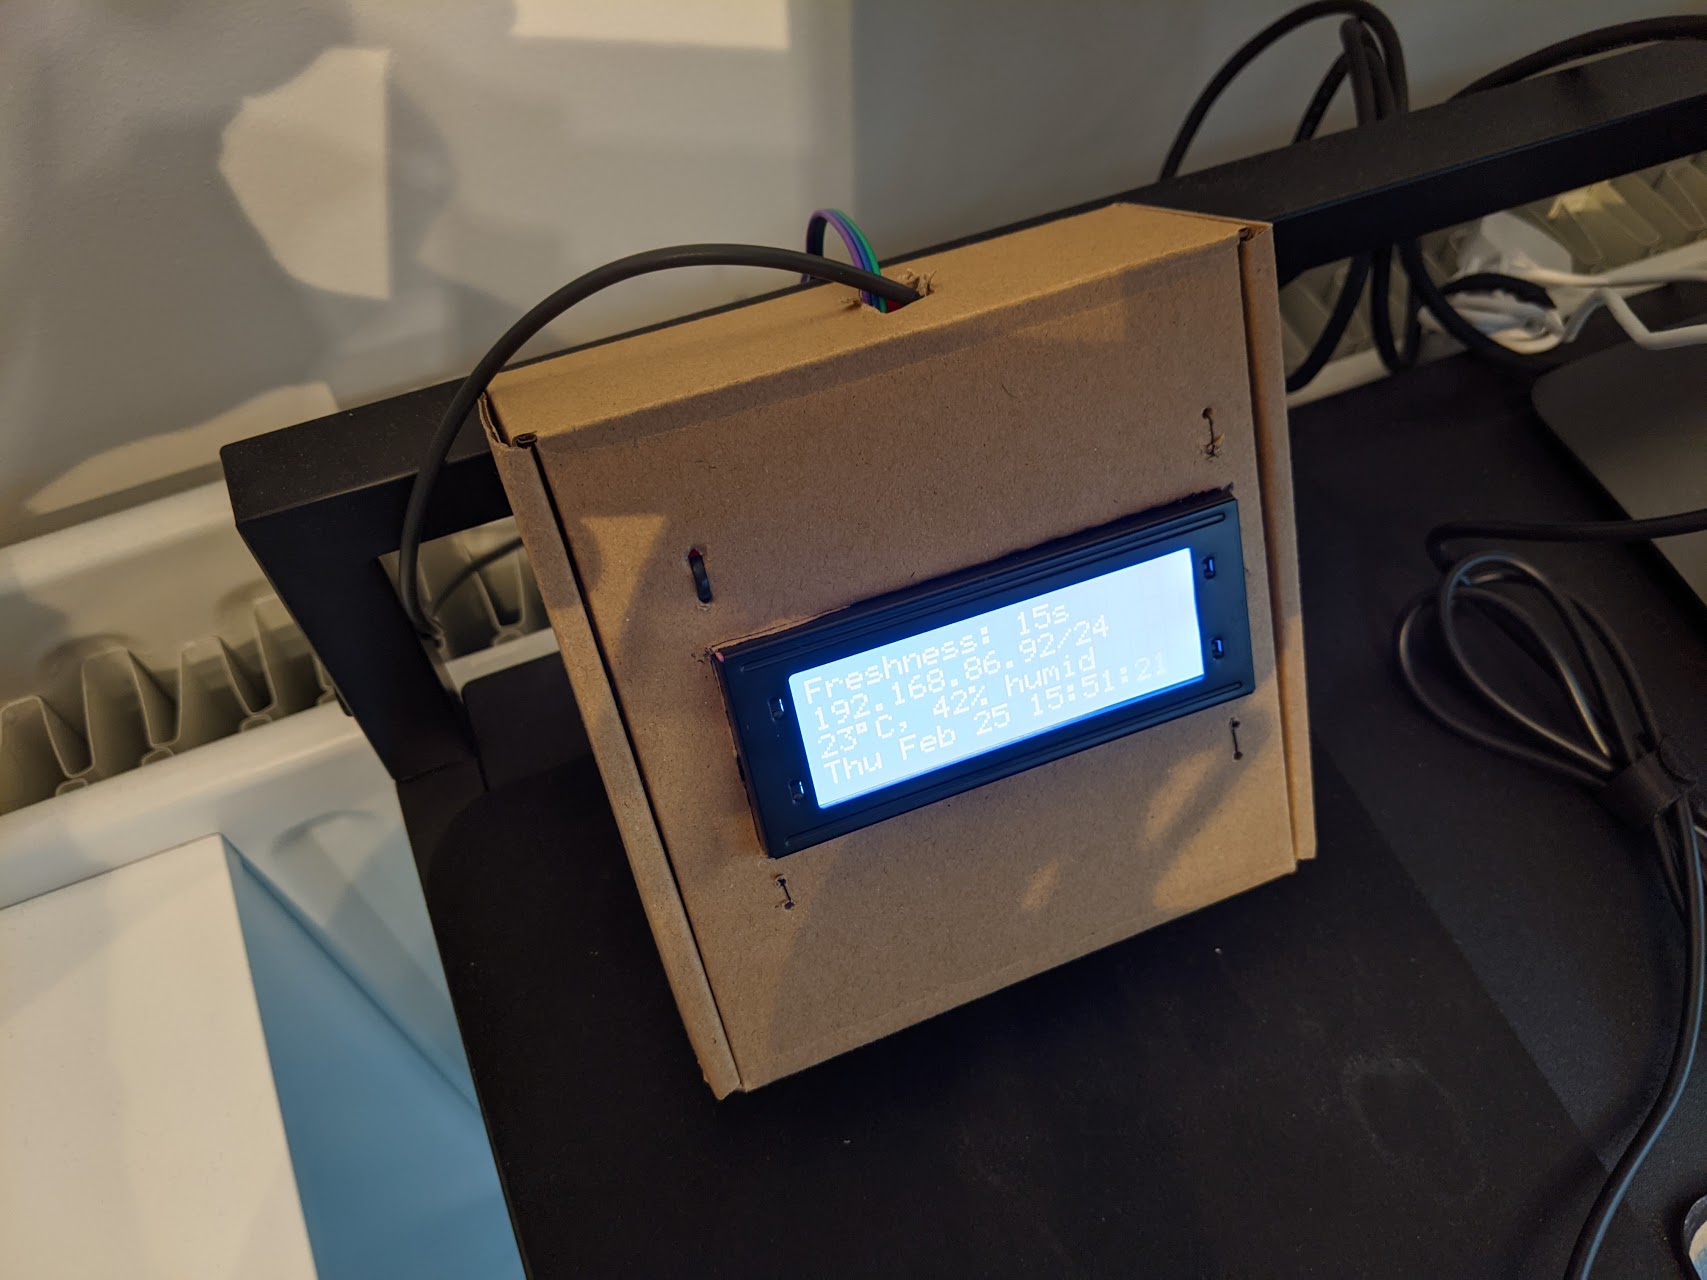
- A 4x20 character LCD; apparently an HD44780 controller or compatible.
This was my first time coding for hardware on the raspberry pi, and it went fairly well.
LCD quirks
Getting the degree symbol (°, ASCII 0xb0) was a bit of a challenge. While the official HD44780 spec shows it should be available with “ROM Code A02” (i.e. Latin mode), it’s not clear if this can be toggled in software, and the characters my unit displayed matched “ROM Code A00” (Japanese)… mostly, that is. Some characters were malformed, and the unofficial library I used didn’t support custom characters (which the hardware seems to support). Fortunately, the Japanese ROM code had a Handakuten symbol (゚, like the circle from ぽ but as a separate character), which is close enough.
The LCD was also quite slow to refresh, the way I was using it; any faster than 1 hz would lead to corruption, meaning that the “second-by-second” clock display I wanted wasn’t feasible.
Finally, the LCD unit is much, much large than the Raspberry Pi Zero, and has to be wired awkwardly to it. With some covid-lockdown-induced creativity, a twist tie, and a bit of sewing thread (!), I turned the box it came in into a “case”.
Cross compilation
While the Pi Zero is certainly capable of being a fully-fledged Go development environment, it’s not a fast one (and me using a cheap old SD card isn’t helping). I got a much faster edit-compile-run loop by working on my main laptop, cross-compiling for ARM, and scp-ing the result over. That’s despite Go’s hefty statically-build binaries (7-12MB for these, depending on stripping).
Cross compiling is done like so (e.g. in a convenience script):
| |
For build-and-run-on-save, this can be used with entr. However, because you can’t modify an executable file as it runs (in this case), you need to use a temporary file. On my laptop, I run:
| |
Then, on the pi, I run:
| |
Stage 2: PiOLED
I looked for a not-so-ridiculously-large display, and found adafruit’s PiOLED to be perfect. Its HAT form factor makes for a much tidier device, and the display itself is reminiscent of the 2007 Sansa Clip m300 (albeit monochromatic). Library support is also much better, thanks to http://periph.io.
That being said, my friend soldered the Pi’s pins on “downwards”, as this is apparently more convenient when using it on a breadboard. I figured it’s time to order my own Pi Zero (you can get them with the pins pre-soldered, facing “up”); I later found that this might be configurable, but it’d still be pretty awkward.
The PiOLED library (actually periph.io’s ssd1306 library) essentially lets you render an image.Image; since these are also trivially renderable to PNG, I could speed up development even further by adding an HTTP endpoint to serve the current image, even if the hardware isn’t present; this also let me zoom into the rendered image instead of squinting at the actual display, making it easier to align things pixel-by-pixel. I eventually ended up separating the code into two binaries - pitemp would communicate with the sensors and provide an HTTP endpoint, whereas pitemp_pioled (and pitemp_lcd) would communicate with pitemp and the physical display (or run in --simulator mode on my laptop, for HTTP-endpoint-only rendering).
I’m quite happy with the final result:
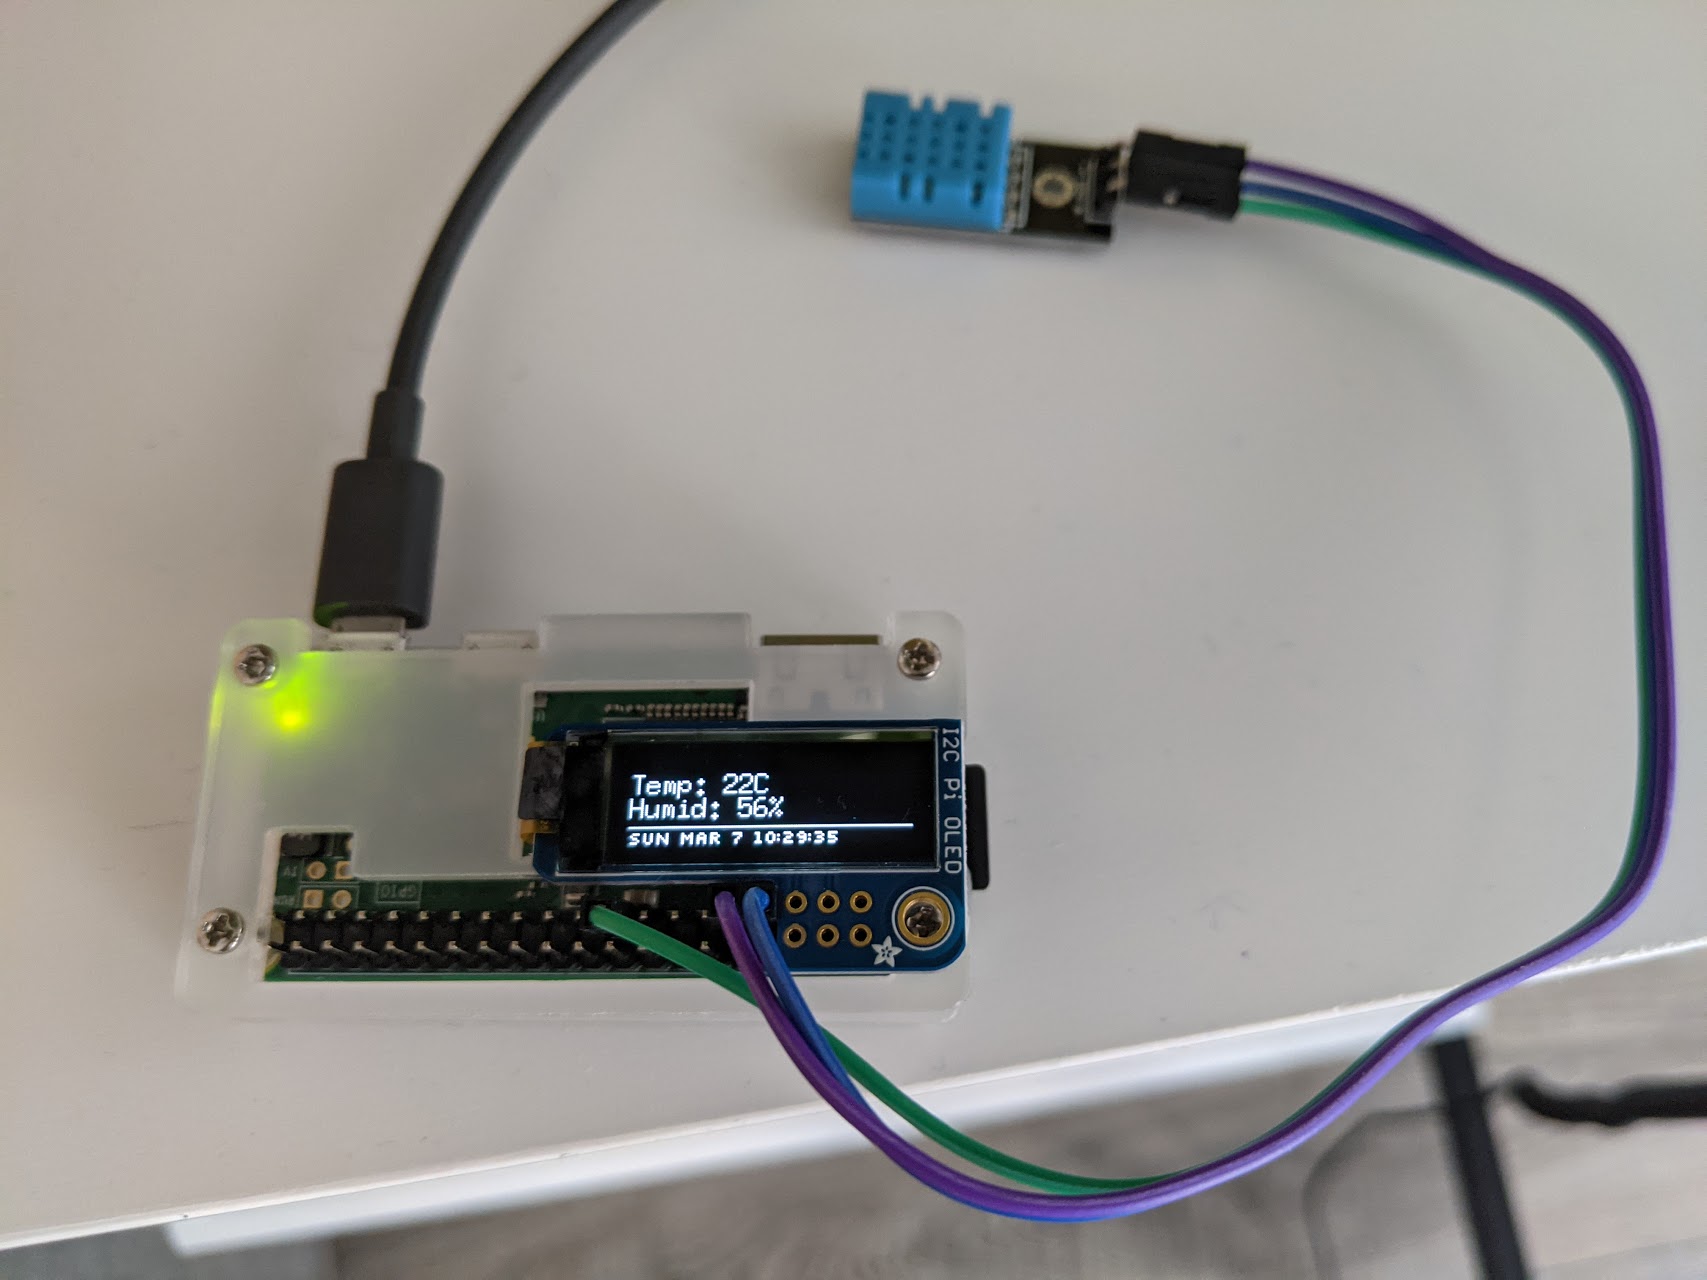
Happy hacking!